Manually Installing Custom FW from FC Patcher
Manual Steps to try if SuperPatcher or FCChooser doesnt work
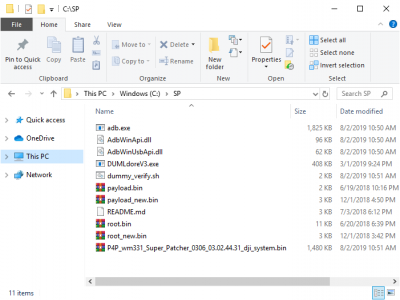
1. Make a new folder and name it something simple like SP
2. Download these files:
Download dumldore and unzip into folder
Download adb files:
Download firmware file
Download dummy_verify.sh
3. Copy all into same folder
4. Connect aircraft to the computer and power it on.
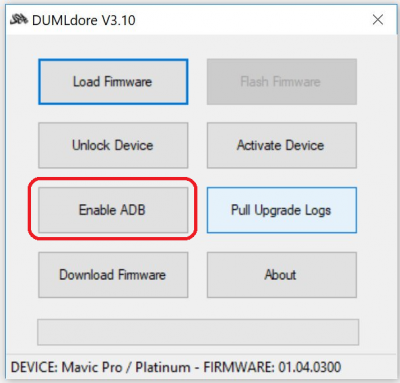
5. Open DumlDore. Click “Enable ADB” in DUMLdore and then close DUMLdore
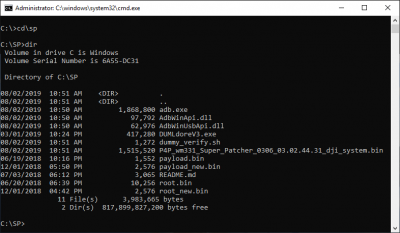
6. From a command prompt, open the same folder as your files (Adb.exe, the firmware file, etc)
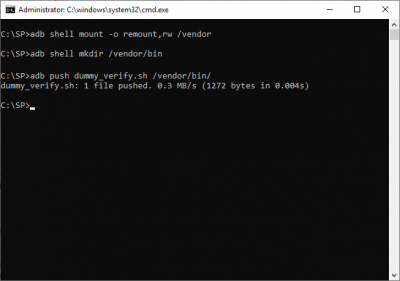
7. Run these commands from cmd prompt
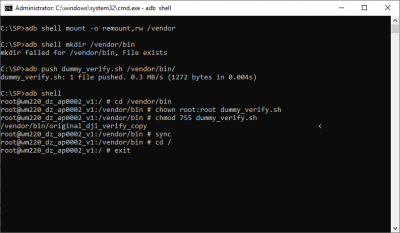
- adb shell mount -o remount,rw /vendor
- adb shell mkdir /vendor/bin
- adb push dummy_verify.sh /vendor/bin/
This will change permissions on a directory so that we can make a folder (the BIN folder). We then copy the dummy_Verify.sh file to the aircraft. This file is used to help bypass a check during the firmware process to allow the modified firmware to install.
8. Now, we need to access the aircraft and do some things. Plugin the aircraft to your PC and power it on. Give it about 30 seconds for PC to detect the aircraft. We will use different commands (same command really, different folder) depending on your aircraft.
## If Mavic/Spark, use these commands
- adb shell
- cd /vendor/bin
- chown root:root dummy_verify.sh
- chmod 755 dummy_verify.sh
- cp /sbin/dji_verify /vendor/bin/original_dji_verify_copy
- sync
- cd /
## If P4 series, I2 run these commands
- adb shell
- cd /vendor/bin
- chown root:root dummy_verify.sh
- chmod 755 dummy_verify.sh
- cp /system/bin/dji_verify /vendor/bin/original_dji_verify_copy
- sync
- cd /
9. Power off the aircraft. Keep it plugged into the PC. Power it back on. Wait about 30 seconds
10. Open DumlDore. Click “Enable ADB” in DUMLdore and then close DUMLdore
11. From a command prompt, open the same folder as your files (Adb.exe, the firmware file, etc).
12. Open a cmd prompt
13. Now, different commands depending on aircraft.
## If Mavic/Spark, use this command:
- adb shell mount -o bind /vendor/bin/dummy_verify.sh /sbin/dji_verify
## If P4 series, I2 run this command:
- adb shell mount -o bind /vendor/bin/dummy_verify.sh /system/bin/dji_verify
14 .Keep the aircraft powered on and plugged in!
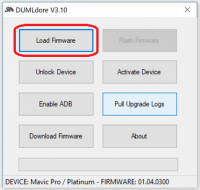
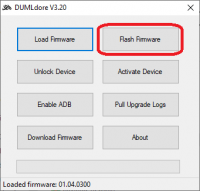
15. Now, you can flash your aircraft. Open dumldore. Press load firmware, navigate to the firmware file you downloaded earlier. Press flash firmware. Let it do its magic.
Don't power off aircraft during firmware flash.
