Table of Contents
SD Card Error when downgrading to firmware older than 1.03.1000
Some newer Mavic Pros are experiencing an “SD Card Error”, with a message to contact DJI when downgrading to older firmware, so they could modify various flight parameters. This prevents, for example, removing the 500m altitude ceiling mod. These aircraft will only operate on firmware 1.03.1000 or later.
The problem has been verified in Mavic's manufactured Sep-19-17 and Mavic Platinum Oct-28-17, and is likely there for all manufactured after those dates. There may be earlier units.
The Cause
Among many counter-techniques DJI has employed to thwart modifying and removing various limitations in the aircraft configuration, they changed the flight data recorder system, so that real-time flight data that was previously recorded on the internal SD card, is now saved on internal flash. The SD card is no longer necessary, so it is not included in newer Mavics.
Because it is missing, these aircraft will not function on any firmware that requires the card to be present to store flight data.
The Fix
In concept, fixing this is very simple: Add the missing SD card. However, in practice it is a bit of work, as the card mount is only accessible with some disassembly, and the microSD receptable is gummed up with glue that's got to be removed first.
How-to video on removing the metal case and putting in the SD card.
We recommend you flash your Mavic first to .700, and confirm that all lights are solid red with the SD Card Error message in GO4.
YouTube instructions for DJI Mavic pro disassembly. Removing the top cover
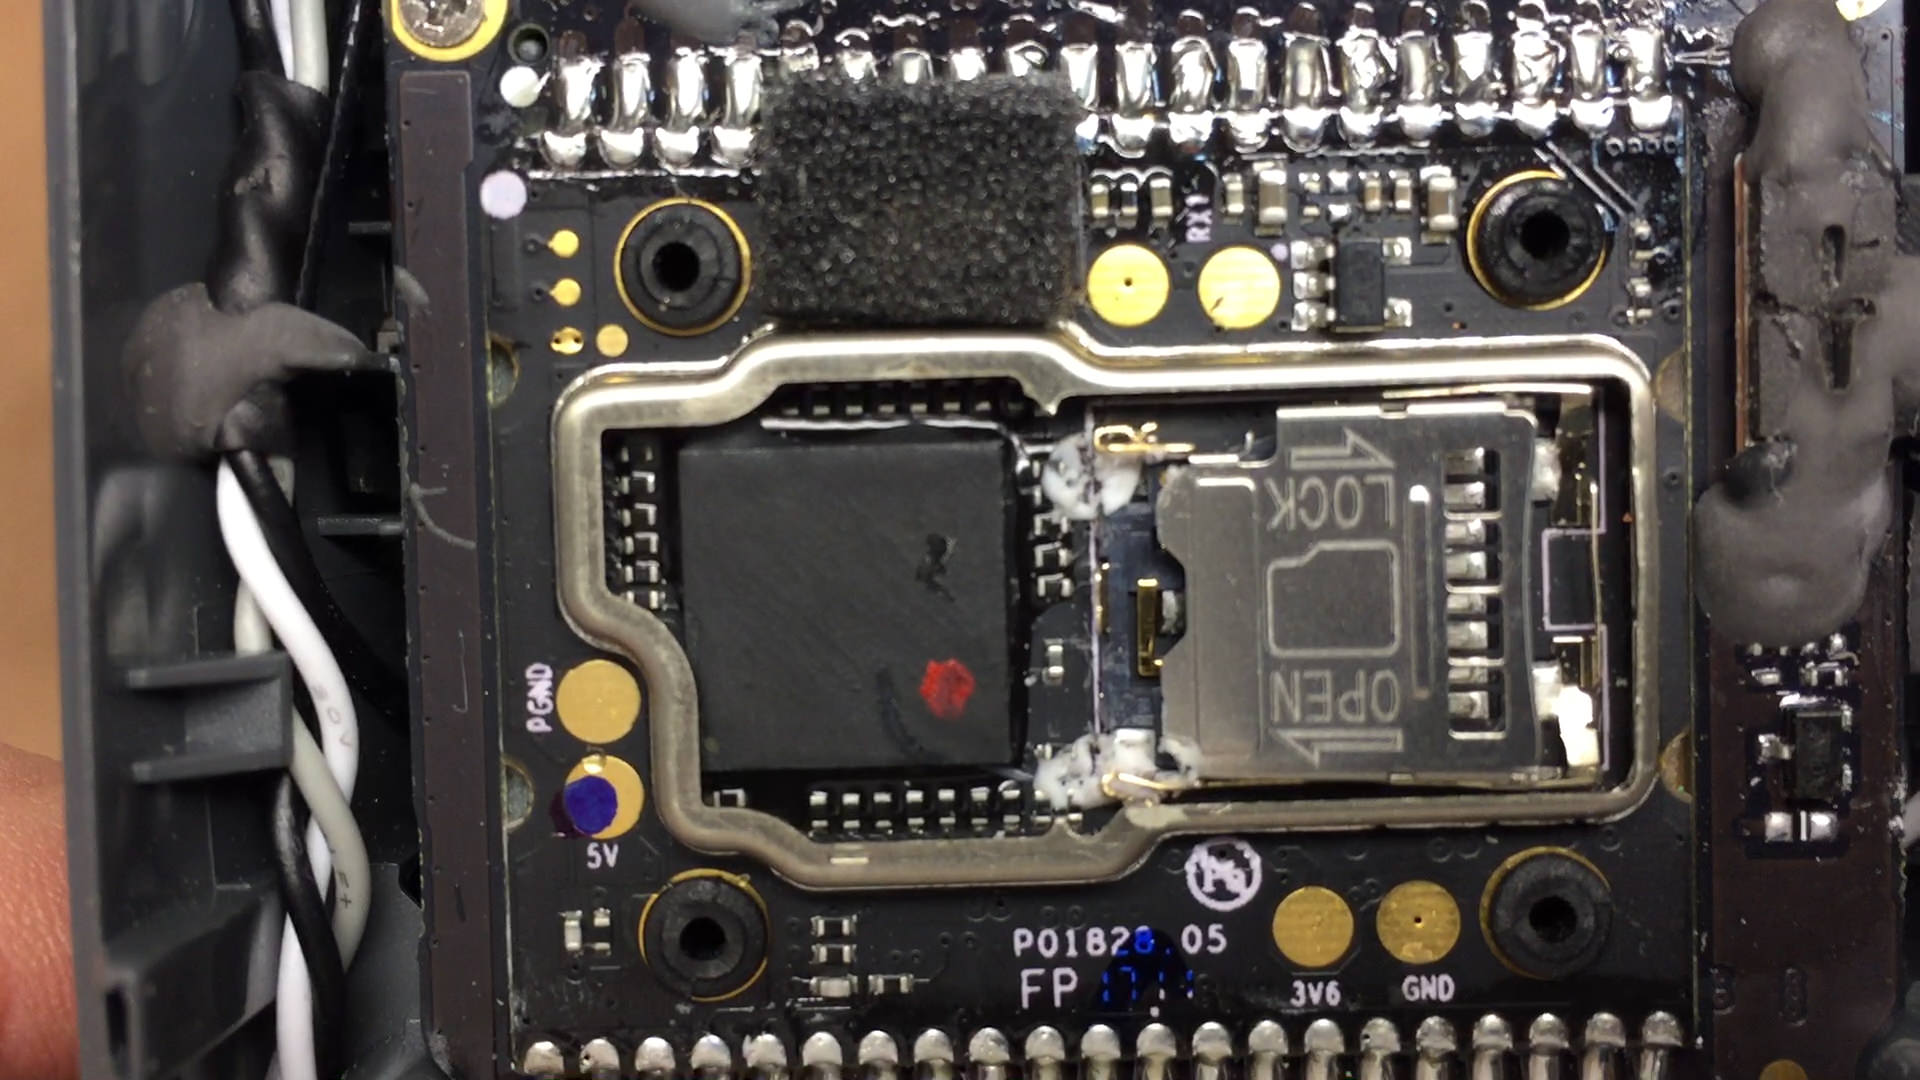
Remove the shielding cover from the SD card holder and ATMEL chip.
After you have the cover off, thoroughly clean and remove all of the white silicone glue from the SD card holder. This picture shows the holder with a card in it – this is from an older Mavic. The same two blobs of white glue will be there and need to be removed, there just won't be an SD card.
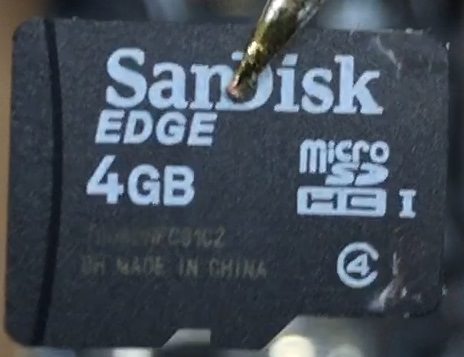
The original card that DJI shipped was 4GB, but these are hard to find these days. This is a stock Mavic card
A 16GB card has been verified to work with no problems.
This is what it will look like once the glue is removed.
After inserting the new SD card, carefully attach a battery and power on the aircraft. Allow it to boot completely. If the rear light blinks yellow instead of staying solid red, you're good to go. Also good to check in GO 4 that the SD Card Error is gone before buttoning up the Mavic.


